
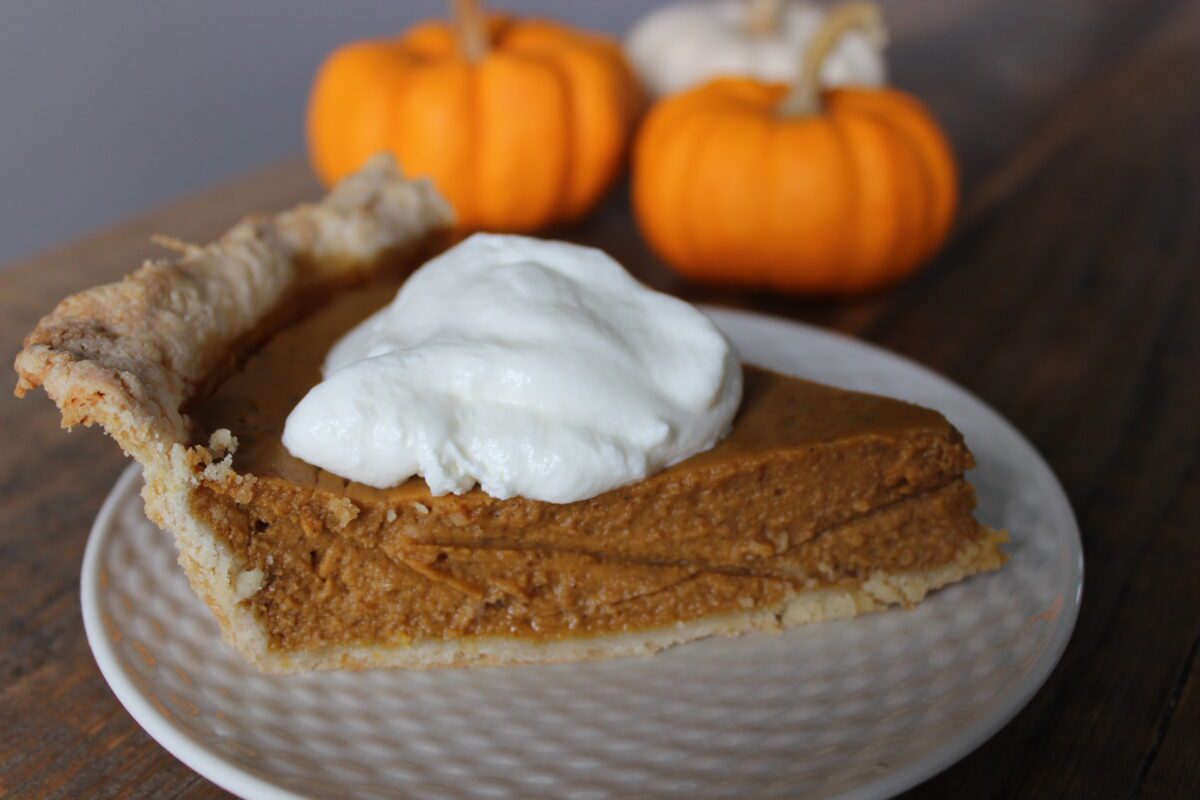
This should be called “pumpkin” wink wink pie. Because you can actually make this with no pumpkin. At all. Nope, no pumpkin. In fact when I was a kid, likely most of the Pumpkin Pie I had was made from squash. And no one ever knew the difference.
Except my dad. He claims he can taste the difference. I once made one pumpkin and one squash pie to take to a family dinner. I was looking forward to seeing how many people could tell the difference. But then I forgot which pie I made in which plate so I don’t actually have any statistics. But from experience I can tell you it’s really really hard to tell. In fact, I remember back then looking at cans of pumpkin pie filling and many listed pumpkin and squash as main ingredients. One of the best recipe resources, The Joy of Cooking includes a recipe for Pumpkin Pie that calls for pumpkin or squash. So there.
Now that you can buy nice pie pumpkins you don’t have to try fooling anyone with squash. But just for fun you should try.
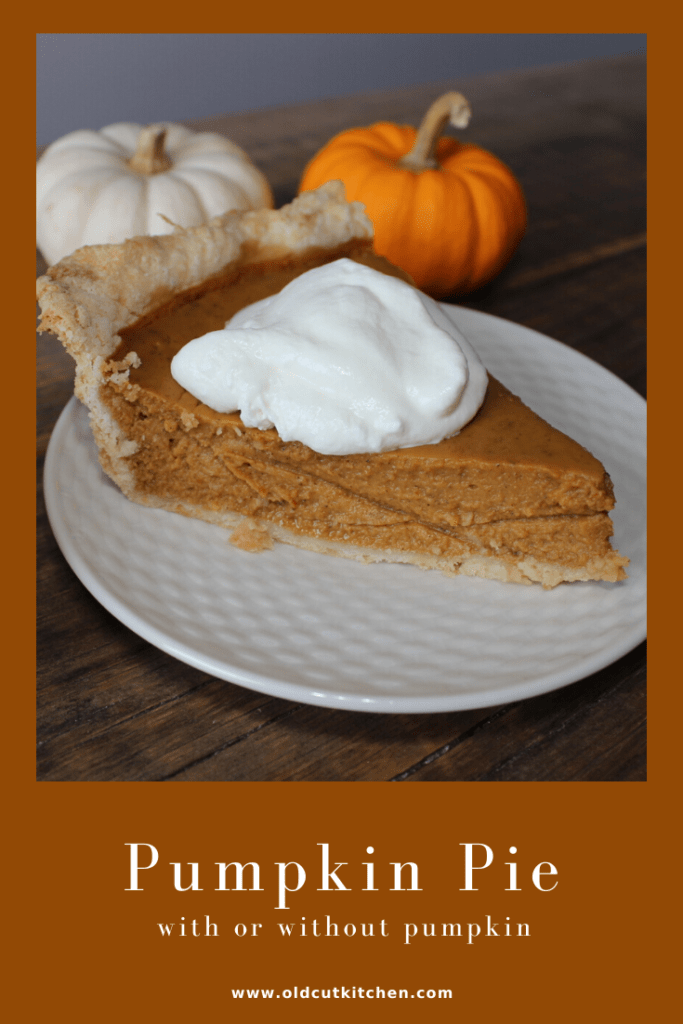
Jump to RecipeMake Pumpkin Pie with Squash
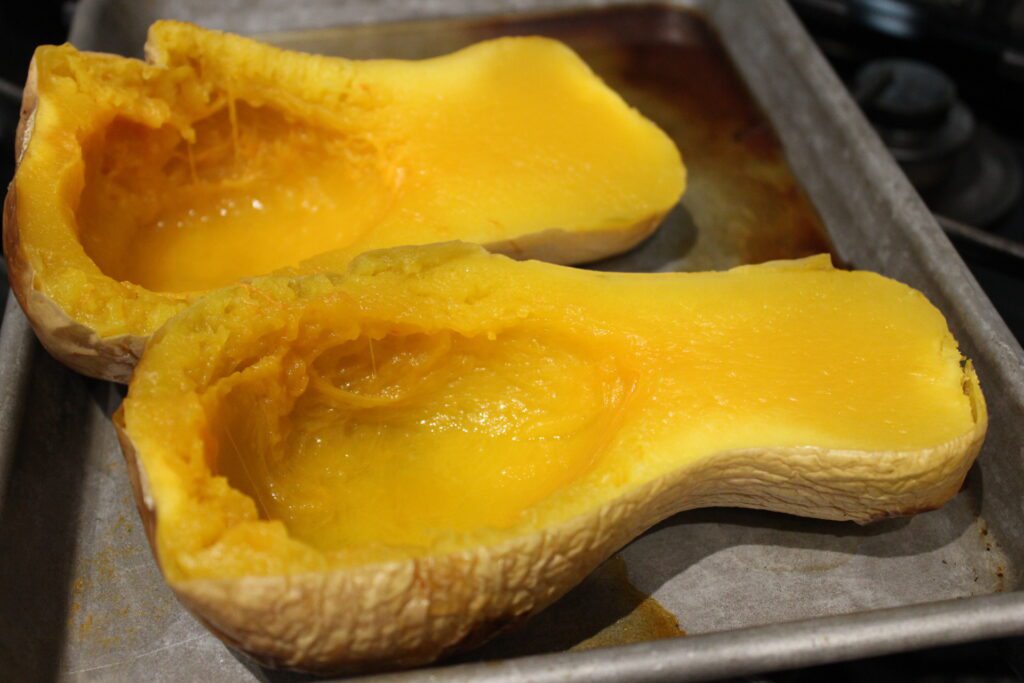
Pumpkin can be a little more stringy than a squash, depending on what type of squash you use. Butternut is my favourite for making pie because it has a great colour and texture. And usually a big butternut squash is about the right size for one pie. You need about a 3 lb squash. Look for one that has a thick neck which is where most of the flesh is. The bulb part has most of the seeds so don’t be fooled by the size of the globe.
Did you know that jack-o-lantern pumpkins are not the type you make pie from? I shouldn’t admit this but I did try once. It was watery and tasteless. And stringy. So my dad was right. There are so many pie pumpkin varieties I can’t even begin to list them but look for a small sweet variety. Some varieties are dryer which is what you want. You’ll notice that your cooked squash will be quite watery in comparison to the pumpkin you find in a can so make sure you let it drain for a while before making your pie filling. My mom, the expert in all things cooking suggested squeezing it in a clean kitchen towel or cheesecloth. This is an important step because any extra liquid is going to mess with your custard setting.
How do you cook pumpkin for pie?
It doesn’t really matter how you cook squash or pumpkin for Pumpkin Pie. Some people like to peel and cube the squash, then boil it until it’s fork tender. Some cut it in half and roast it cut side down. I’m lazy so I usually throw a full squash in the oven on some tin foil, usually when there’s something else cooking in there so I’m not wasting energy, then cut it open and spoon out the flesh.
Feel free to use store bought pastry or make your own. If I’m making a single crust pie I like to make a double crust recipe so I can freeze half. That way, you’ve got one ready to go for the next time. If your pastry turns out terrible, which sometimes happens, even to experts, you can toss the other half. Here’s a basic Perfect Pie Pastry recipe.
I like to make my pastry a day in advance or at the very least, earlier in the day and cook my pumpkin or squash in advance as well. First, pastry likes to rest before baking so spending an overnight in the fridge is helpful. If you’re making it the same day make sure it gets at least 30 minutes of chilling time in the fridge. Baking the pumpkin/squash in advance allows you to cool it over night and then drain any liquid that forms.
My mother taught me something about pumpkin pie. Well that’s funny, my mother taught me something about EVERYTHING. She told me that pies with 3 eggs are more custardy than with 2. I would have thought the opposite, thinking the extra egg would make the filling more set. I personally prefer the 2 egg version which is what you’ll find in this Pumpkin Pie recipe.
My recipe is based on a combination of the Better Homes and Gardens cookbook and the Joy of Cooking. Definitely 2 good resources for great recipes. But I like to use way more spices. Yes, I like the taste of the pumpkin/squash but I love the warm spices in pumpkin pie and the little zing the extra spices add.
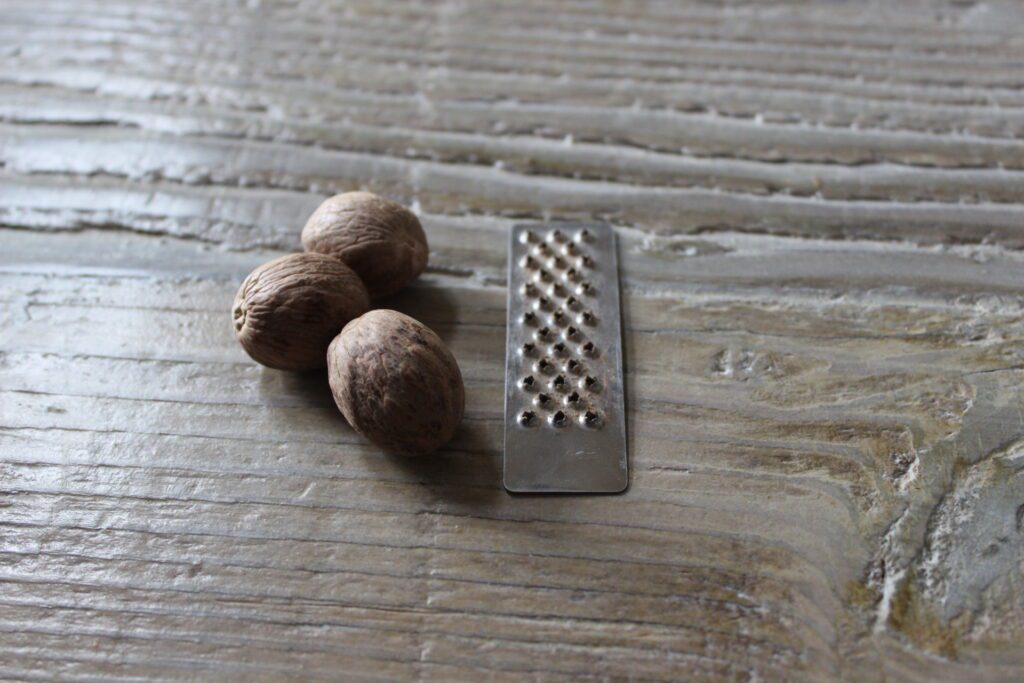
Have you ever used whole nutmeg? They sell them in little jars and come with a tiny grinder! Too fun to resist! If you have some, grind a bit on top of the pie before baking. I once was doing just that and dropped the nutmeg into the pie. So instead of messing up the pie, I just baked it and left it in there as a surprise for someone.
Another “did you know” fact. Evaporated milk has hardly any fat. It’s thicker than regular milk but it just has the water content reduced so you can use it to make creamy pies without adding heavy cream. Make sure you don’t confuse evaporated milk with sweetened condensed milk which is not what you want. Too thick and sweet. A suggestion though, a full can of evaporated milk may be a bit too much depending on the water content of your squash. Add about 2/3 of the can and if the filling is fairly watery, don’t add the rest.
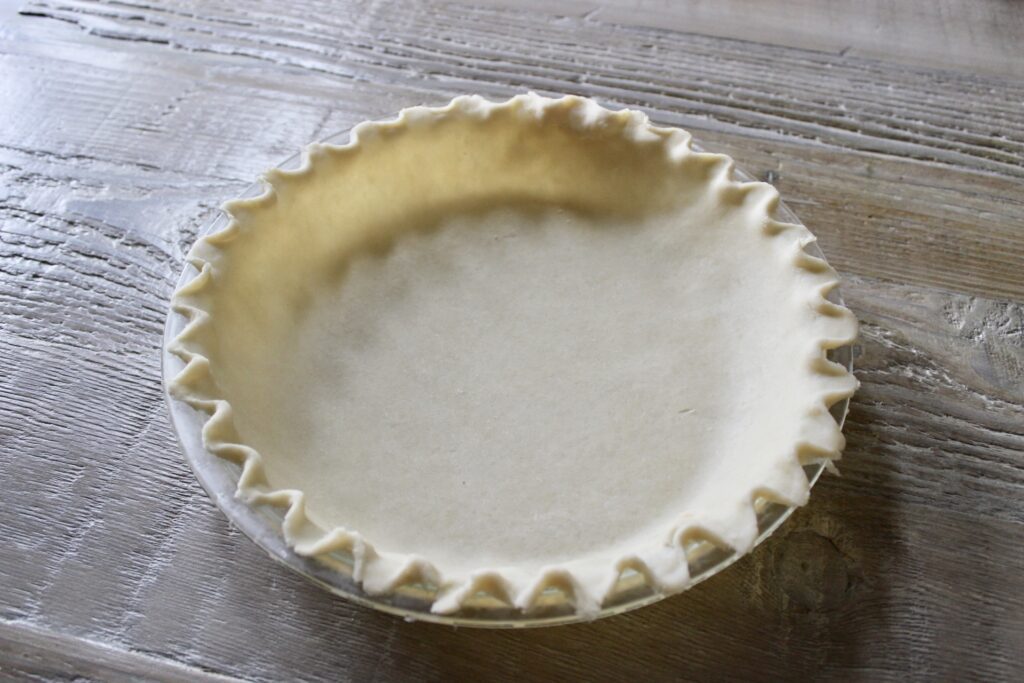
When you’re ready to make your pie, take the pastry out of the fridge about 15 minutes before rolling to give it time to warm up just enough to have the chill off. It’s easier to roll. Use a well floured surface and move it around between rolling to make sure it doesn’t stick. Roll it a bit larger than the outer edge of your pie dish to make sure it’s wide enough to fall inside the pie plate and hang over the edge. Trim and crimp the edges and pop it in the fridge while you preheat the oven.
Now make your filling. Using a hand mixer is helpful so everything is blended well. Just put all the ingredients in a big bowl with a pour spout. Don’t whip it up too much, medium speed is enough. If your squash is a little watery your filling mixture may seem too thin but it should set fine. Remember to start with part of the can of evaporated milk just in case. And remember to remove as much liquid as you can from the cooked squash. Or pumpkin. You’ll probably have a little more filling than you need which is better than not enough.
Pro tip: always bake a pie on the bottom rack of the oven to ensure the bottom crust cooks properly. That’s why you preheat the oven a little warmer than the baking temperature so you don’t lose all your heat when you pour the filling into the pie shell. And filling your pie when the crust is already in the oven helps not splash the filling all over the place. It’s not easy to walk with a filled pie crust, trust me. You can even pre bake the crust for a few minutes before adding the filling. I’ve been doing that lately and found my bottom crust is less soggy! Maybe I’m on to something.
Once you’ve poured the filling in, reduce the heat and bake for about 45 minutes. If you’ve got whole nutmegs you can quickly grind some on top if you like.
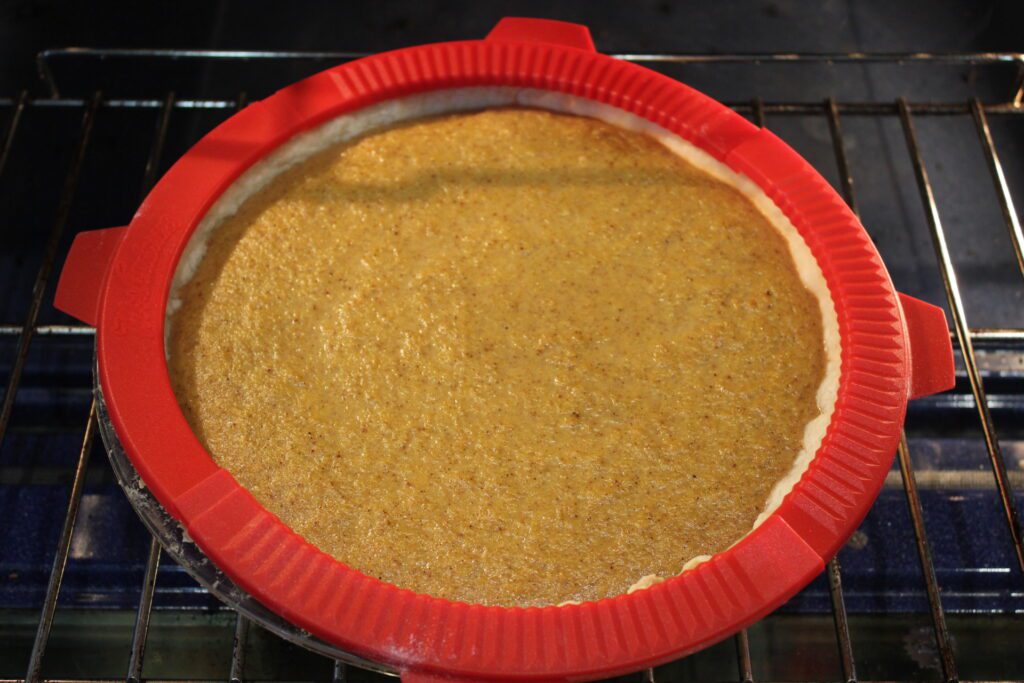
My friend Miranda gave me these cool crust covers. If my crust starts getting too browned before the custard is set I can carefully place them on the crust edge. They’re silicone so they can withstand high heat.
You could try using foil strips but I can tell you from experience that it’s not easy. The air movement in the oven makes the foil float around and it will land in the middle of the pie. Murphy’s law.
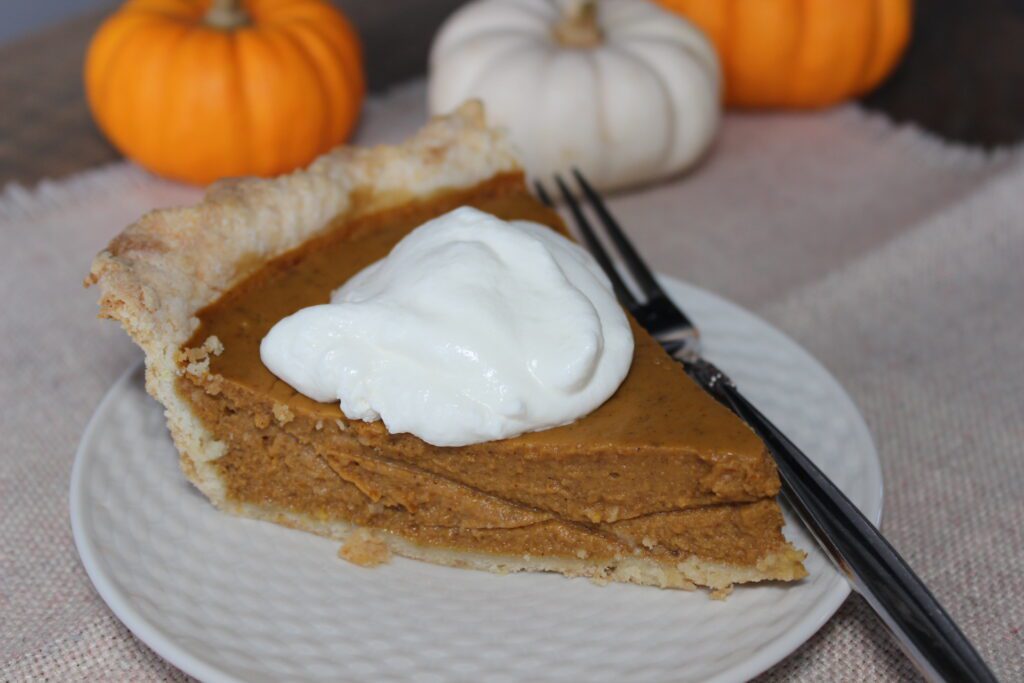
The pie is done when the filling is set. It’s ok if it’s still a tiny bit jiggly in the centre, it will continue to set for a few minutes after it comes out of the oven. In fact, overcooking a Pumpkin Pie is what causes the filling to crack. I guess that’s one last “did you know.”
Here’s the recipe:

Ingredients
- 9 inch single crust pie shell, unbaked
- 2 cups cooked and drained pumpkin or squash
- 2 eggs room temperature
- 1 can evaporated milk - or less if squash is liquidy 350 ml or 12 oz
- ⅓ cup white sugar
- ½ cup brown sugar
- 2 tsp cinnamon
- 1 tsp ground ginger
- ¾ tsp ground nutmeg extra to grind on pie top if desired
- ¼ tsp ground cloves
- pinch of salt
Instructions
- Allow pastry to sit at room temperature for 10 minutes if it has been refrigerated for more than 30 minutes . Roll into circle slightly larger than pie plate size. Carefully lower into pie plate, adjusting as necessary to overlap. Trim excess pastry and crimp edges. Chill in refrigerator.
- Preheat oven to 400°. Ensure one rack is set at lowest setting.
- Combine all filling ingredients in a large bowl with a pour spout if possible. If using hand mixer, do not over beat. Use medium speed at most.
- Place unfilled crust on bottom rack of the oven and cook for a few minutes, no longer than 5 minutes.
- Carefully pour pie filling into crust. Grind extra nutmeg on top if desired. Reduce oven temperature to 375°.
- Bake for 45 minutes or until pie is set. Centre can be very slightly jiggly. Cover crust edges if necessary if getting too brown before custard is set.
If you’ve tried this recipe, consider leaving a comment or a rating. Or, you can share the post by clicking on the icons below.
other pie recipes
Chicken Pot Pie – not all pies are sweet!